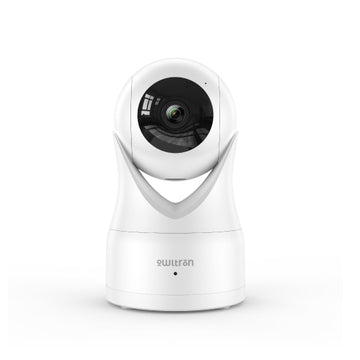
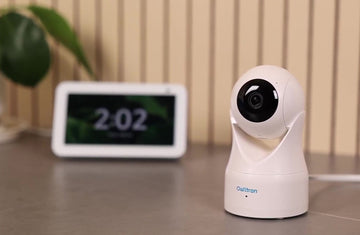
In this guide blog, we’re going to show you how to set up and install the Owltron cam W1.
Content:
- Prepare Things You Will Need
- Steps To Install The Owltron cam W1
- How To Reset Owltron cam W1
Prepare Things You Will Need
- Screw and wall anchor
- Brackets
- Micro USB charging cable
- Power adaptor
A drill to make holes if you’re mounting on a brick or stone wall. Or a screwdriver to make this installation easier.

Steps To Install The Owltron Cam W1
Now that everything you need is ready, let's start installing Owltron cam W1.
Step 1: Power the Owltron cam W1
Power the device by connecting the camera and charging cable to the power source till the light turns red.

Step 2: Download the App
Use your mobile device to download the free Owltron App from the IOS App store or Google play store on your phone.
Download in Google Play Store>>>
Download in Apple App Store>>>
Step 3: Set up your account
-
Click sign up and enter your email address,
-
Enter the verification code you received from Owltron,
-
Set up your password,
-
All set, your Owltron app account is activated!
Step 4: Set up the connection
- Click the add devices tap and choose the same model you have.
- Connect the camera with the following guideline on your phone.
- Select your 2.4GHz network and enter the password.
- Scan the QR code on your phone until hearing a notification sound then click the bottom of "I heard a prompt".
***Note: The network must be 2.4 GHz. If you don’t familiar with 2.4 GHz, you can contact the Owltron service team to assistant you by using the online chat window at the bottom-right of this page or SUBMIT A TICKET by email.


Step 5: Insert your Micro SD card or use Cloud Storage Service
Insert the Micro SD card into the Owltron cam W1 or you can use the cloud storage service on your account instead.

Step 6: Test the Owltron cam W1
Now you test to see if the device is set up properly by controlling the camera pan and till or applying some of the features on the App on your mobile phone.
Step 7: Install your Owltron cam W1
- Place your camera in the desired position and mark it.
- Use the drill to create 2 holes on the mark and put the wall anchor into them.
- Put the brackets on the wall and start to insert the screws into the holes.
- Place the bottom of the camera on the brackets and tier it.


How To Reset Owltron cam W1
If you want to reset the camera, the reset button is located on the back of the camera. Press and hold it for 3-5 seconds and when you hear the prompt, the camera has been successfully reset.

If you have any questions please feel free to contact us at or comment below.
UPDATED DATE: APRIL 15, 2022


